Learning the basics of
Illustrator
|
When starting to use Adobe Illustrator you must learn some of the basic tools in order to understand the software. These tools are essential to using Illustrator.
|
Shape Tool
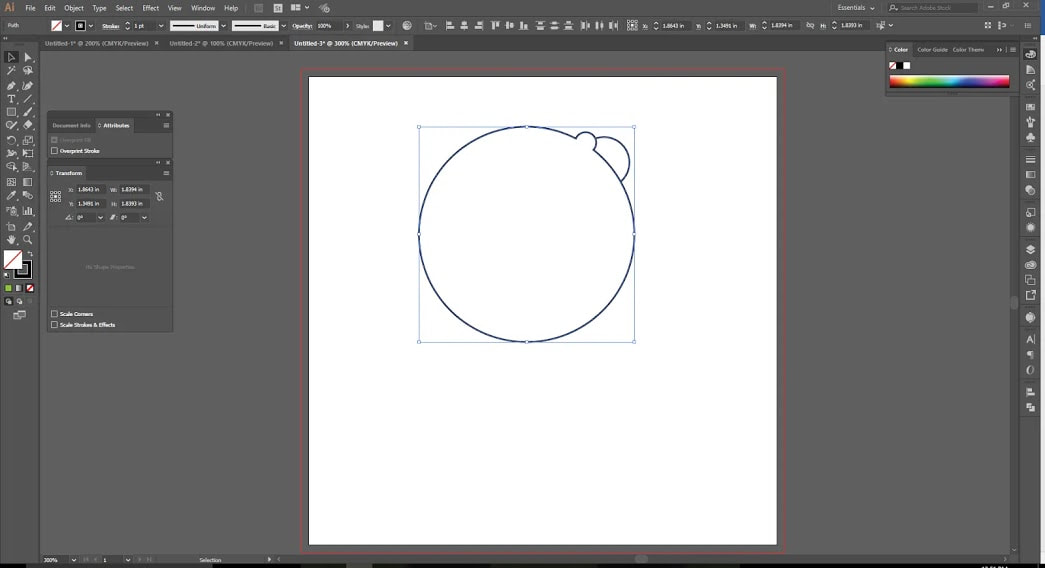
Illustrator allows you to use a range of shapes. By selecting a shape you can then drag the mouse along to make a shape. When trying to make the perfect circle or square you hold the shift button then drag your shape to form it.


|
Using the polygon tool you will be able to make an polygon shape. Once selecting a shape you then press the arrow button so that you can have a polygon shape with more sides or less. This basically allows you to make an shape from an octagon to a triangle.
|
Shapes also have a fill and stroke, this is the shapes colour an outline. If I make a shape I can decide if I want a fill on my shape or a stroke.

|

|
The shape tool also gives me the freedom to warp the shape within its selection. Dragging the white dots that surround the selection box, I can then manipulate the shape I originally started with.
Shape Builder Tool
Once the basics of the shape tool were learnt, this lead us on to learn about the shape builder tool.

I started by using the ellipse tool to create some shapes. I pressed ALT + SHIFT to create 3 perfect circles.
Next I selected all the shapes that I made then went to the tool bar to use the shape builder tool.

|

|
Once selected, certain areas will appear grey where the mouse hovers. This means I can join these shapes together.
The use of the '+' or '-' allows me to either join a shape to another shape or remove an overlapping shape from another one.
At the end I have a new shape merged together which I can then add more to or remove shapes.
Text/Shape Tool
I started by selecting a shape as well as selecting the text tool, which will wrap around the shape.

|
|
Then I went on to arrange my font size and position before I started to type out my text.
I typed out my text which would wrap around my shape. Once I was happy with the text I adjusted the font, size and position once more.
I added additional text to the shape then adjusted the alignment so that it would centred
Afterwards I positioned my text parallel to each other so that this ensure that the text was entirely wrapped around the shape.

Once I was happy with my text, I then added an image to go inside the text. This finished the design off nicely.
Compound Tool

To create a compound path I must select two or multiple overlapping objects. To do so I go to object, then compound path an lastly make. This means all the shapes are joined as one.

The path finder allows me to decide how I want my compound shape to look. Using this allows me to subtract, section or add a shape.
I can also alter the shape by using the direct selection tool. I can also go to object > compound path and release so that I can easily return the compound paths to it's original components.
|

|
