Step by Step on Bas Relief

In class we began to work with a new technique called bas relief. We were given a slab of clay to use for creating a texture/design. We had a selection of images to choose from which we were to use for refence in our clay design.

I began to work from my image and use the reference as best as I could to create the similar texture and details that were there.

|
Using a range of tools I mapped out the design into my clay an then began to carve out pieces which will be picked up by the plaster.
|
|
We were given a quick introduction into plaster an how it works. This was going to preserve our design into the plaster.
We were taught that plaster is a fast setting liquid will preserve our clay designs. Plaster is also harmful to breath in so we were cautious when using the plaster. |

|

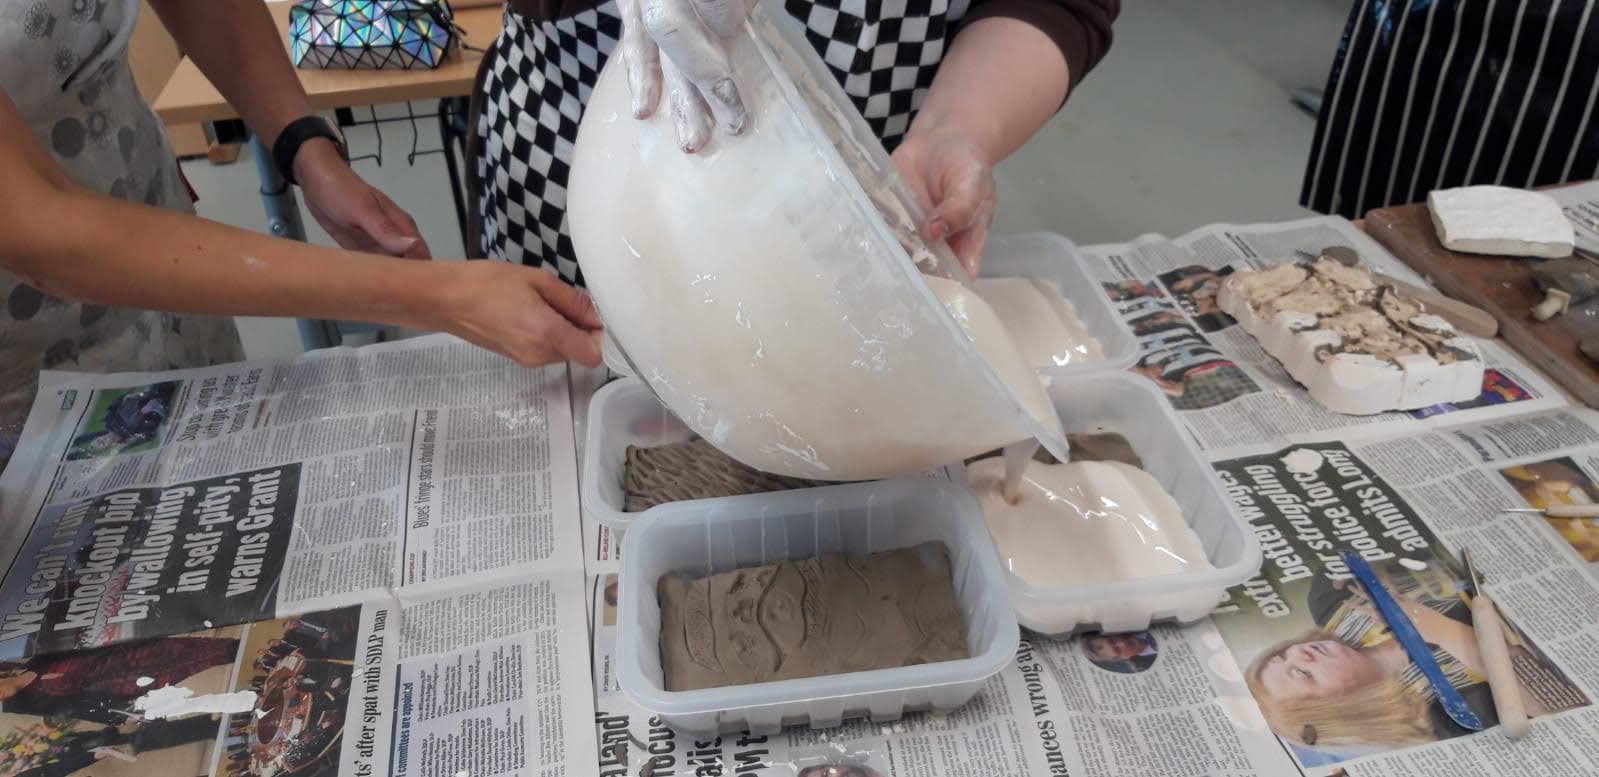
The clay slabs are then put into plastic containers so we could then pour the plaster onto the slab.

|
|
Once the plaster is mixed well it is then poured immediately on the clay an will be casted in a matter of minutes.
The plaster sets very quickly so once it is set I am able to remove the clay an see my casted design.

|

|
For bas relief I found that carving my design into the clay was tricky, as I was trying to remind myself what would become raised in the clay.
The process was enjoyable as it was fun see how the end result would be after clay was released to show the plasters imprint.
The bas relief would be very useful if I wanted to make a mould of a face or something with great detail. It would also be handy for me to use the bas over and over as I could make several replicated clay pieces.
